
Now that you’ve made the decision to sell on Amazon, your next step is actually getting started. But before you download RepricerExpress to get a jump on automated repricing, you’ll need to set up an Amazon Seller Central account. It’s fairly straightforward, but we’ll walk you through every step of the process so you get the best start possible
Sell with Amazon Step 1: Register with Amazon and Open an Amazon selling account
If you tool around Amazon’s site long enough, you’ll be able to find the buttons to click on to get all set up. But to save yourself a bit of time, scroll down all the way to the bottom until you reach the footer.
Under the “Make Money with Us” tab, click on “Sell on Amazon”, then the yellow button that says “Start selling”. Visiting “Sell on Amazon” and clicking on “Signup” will also take you there.
This will take you to a page where you’ll either have to log in with your existing Amazon account or sign up for a new one.
Sell on Amazon Step 2: Do you want an Individual Amazon Seller Account or a Professional Seller Account?
As you’re completing the sign-up process, you’ll be asked if you want an Individual or Professional account. The differences between the two are significant and will impact your day-to-day options.
- Individual Account: There are no monthly fees to maintain this type of account, but you’ll be paying for indirectly in other ways, like having to pay $0.99 for every listing you put up. You also won’t be able to list entirely brand-new items, as you can only add offers to already-created listings. Finally, you won’t be able to apply to sell in gated categories and set your own shipping rates.
- Professional Account: This type of account costs $39.99/month, so we recommend starting with an Individual account until you reliably see the number of items sold each month exceed 40 so it can pay for itself. But if you want to start with a Professional account right away, you’ll get some nice perks, like being able to set your own shipping rates, create listings for products never sold on Amazon before, and apply to sell in gated categories once you’ve proven yourself as a seller.
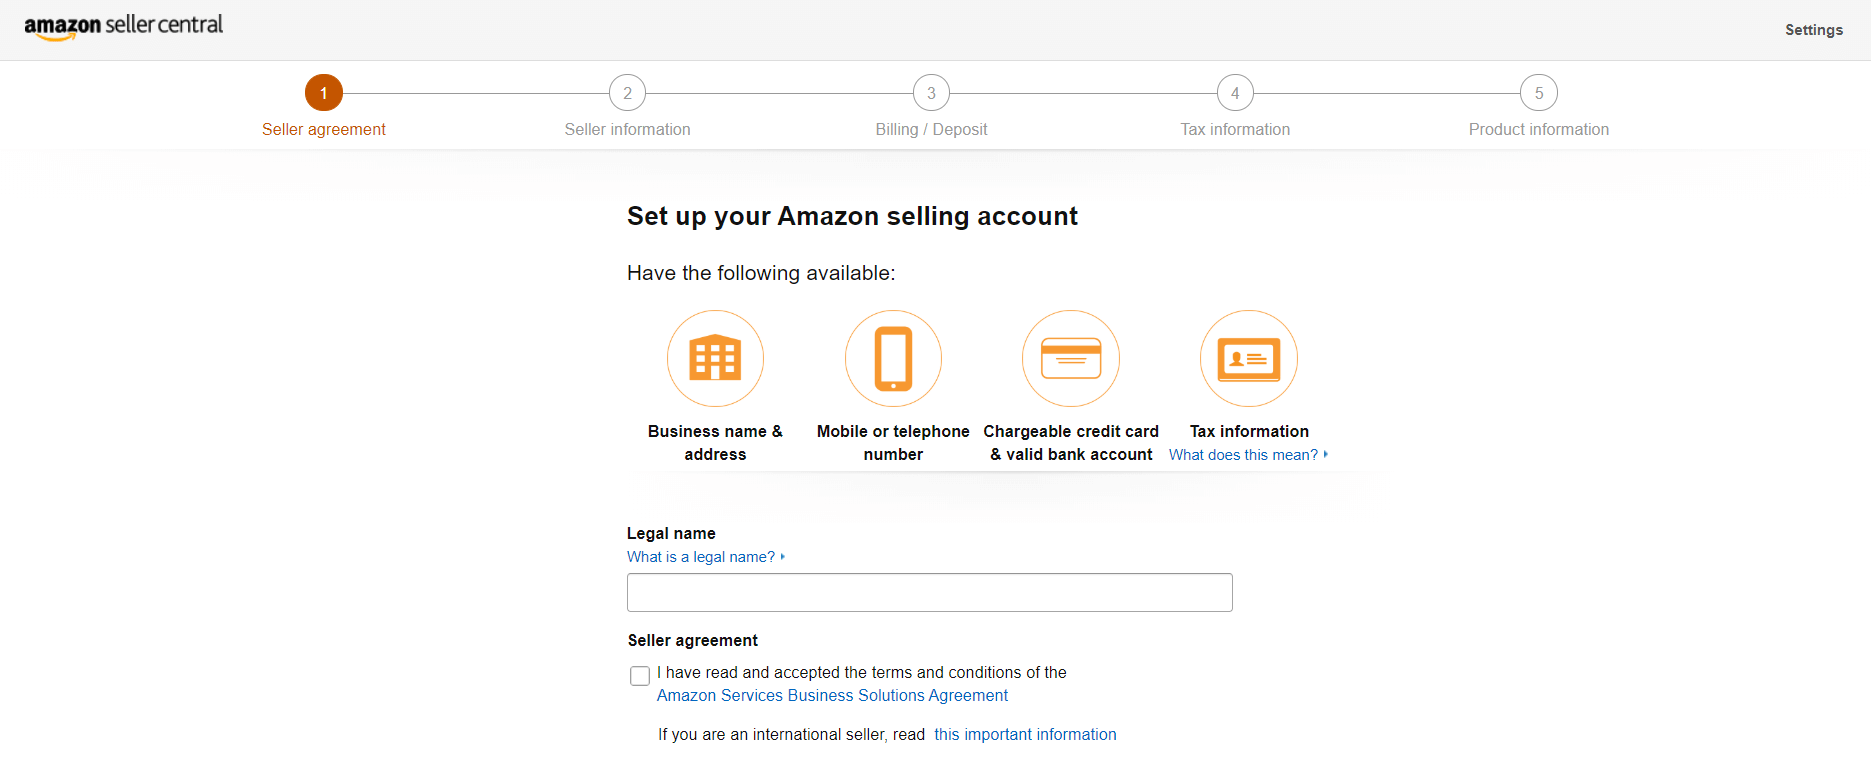
Step 3: Get All Your Business Ducks in a Row When Registering with Seller Central
You’ve made the first big decision so far by deciding what kind of selling account you’ll want. The next step is to enter in all your business information and this is where the process is like baking or cooking: read the instructions from start to finish first, get everything out beforehand, and add as you go.
This is what you’ll need to register your business to your selling account in one go, making it easier than if you have to keep returning to it later.
- Business Info: You’ll need your business’s legal name, address, and any relevant contact details associated with it.
- Email Address: Don’t use your personal email, but rather the business email. Amazon will be sending you important emails regularly and shortly after you register, so make sure the email address is valid and working.
- Credit Card: Whether you use your personal card or one specifically for the business, you’ll need to make sure it’s internationally chargeable and has a valid billing address. Take note that Amazon will stop your registration if the card number isn’t valid, so enter the numbers carefully.
- Phone Number: This doesn’t have to be your business phone number, but rather one that Amazon can reach you at during the registration process. Also, make sure to have your phone nearby in case they do call.
- Tax Information: Depending on where you’re selling from, the exact tax information required may vary. For example, U.S. sellers have the option to input either their Social Security Number (SSN) or their business’s Federal Tax ID Number, so check beforehand which you’ll need. While you’re on this step, you’ll be temporarily rerouted to a page where your tax information will be submitted and verified, then back to the actual registration process.
- Bank Account Information: Lastly, you’ll need to enter in bank account information for your deposits once you sell things so you can get paid for them. All you have to do is log on to your bank account and find the necessary numbers for direct deposit, like account and routing number.
There, that’s it — you’re now a registered seller on Amazon. Soon, you’ll start seeing prompts from Amazon about creating listings. Once you do that, you’ll be labelled as a “Launched” seller; before you do that, you’ll be a “Registered, Not Launched” seller. This is because Amazon only makes money when you make money, so they’ll be politely pestering until you start selling.
Amazon Fulfillment Options
Once you’re all set up, you’ll need to decide which Amazon fulfillment method you want to opt for. If you want to do it yourself then you’ll select Fulfillment by Merchant otherwise known as FBM or Seller Fulfilled Prime.
If you want Amazon to take care of it, then you’ll want to go with Fulfillment by Amazon otherwise known as FBA. There are pros and cons of each so it will be up to you to decide which option work best for your business.
Final Thoughts on How to Use your Amazon Business to Start Selling
We mentioned early on you’ll need RepricerExpress so you can competitively reprice your listings. When you’re first starting out, you might not have that many listings to reprice, but you’ll likely eventually get to the point where repricing manually just won’t be worth it anymore.
Before that happens, sign up now so you can start your free trial, giving you plenty of time to master which pricing rules you’ll need so you can confidently click okay when it really counts.
Related: What to Sell on Amazon in 2020