
Before getting started selling online, you’ll want to have a clear idea of what your goals and aims are. And what better place to do that than with RepricerExpress? We’ll walk you through the basics so you can customise things to fit your needs and be the superstar you know you are deep inside.
Amazon FBA Checklist
Step 1: Sign Up With Amazon
To get started selling on Amazon, you’ll need an account. You probably already have one, but that’s likely for casual purposes. To sell, sign up for a business account so you can manage things easily and professionally.
Step 2: Budget For Your New Account
With your regular Amazon account, you don’t pay anything in the way of fees, except if you have an Amazon Prime membership. But to sell professionally, your account will run you $39.99 a month. That’s also before you’ll need to deal with other fees involved with selling online, like the commission fees Amazon takes for itself, and others. For now, budget about 15% of your projected sales for this.
Step 3: Use ‘Professional’ Information For Your Professional Account
If you have a business license and address for your business, put that down in the text fields on your account. You’ll also need a credit card for things like monthly subscription fees and needing to cover a negative balance (if there is one). If you have a credit card just for your business, great. If not, use a personal one.
Step 4: Strongly Consider Shipping With FBA
By far, the most hassle-free option of shipping is Fulfillment by Amazon. Sure, you pay them money, but they take care of all the details, from package picking and wrapping to customer support in case anything goes wrong. One of the only cases in which Fulfillment by Merchant (FBM) would be the better option is if you plan on selling only a few things each month and it would be cheaper to do yourself.
Step 5: If You Ship Yourself, Prepare Your Packaging
You’ll want to do everything you can to set yourself apart and one of the easiest ways of doing so is customising your packaging. Maybe this means include a postcard-type letter in each package with instructions on how to use the item. Or maybe it means designing your own shipping label.
No matter what you choose, at the very least you should invest in a quality printer, good packaging materials, and scales so you can accurately measure products for their shipping costs.
Step 6: Make Sure You’re Selling in the Right Categories
Sometimes it’s easy to figure out which category your items belong in. And sometimes you’ll need to pretend you’re a buyer to figure out which category to choose. Either way, make sure you get this part right so shoppers will have an easy time finding their way to your page.
Related: The 5 Most Profitable Product Categories for Amazon FBA
Step 7: Make Great Product Descriptions a Priority
This part might take you the longest, but it’s also one of the most important. Don’t skimp any time on things like:
- Product images
- Consistently-written product titles
- Well-researched and well-placed keywords
- Thorough (but concise!) product descriptions
It’s also a good idea to spread hype about your site via social media pages.
Step 8: See How a Few Items Sell
Before diving in, dip your toes in the water to get familiar with the process. Start small with just a few items so you can get the hang of how to answer buyers’ questions, what it’s like to ship items, what’s involved in billing and handling payment, and how to handle customers’ issues if anything goes wrong.
Step 9: Play Around With Pricing
Product prices are very rarely static on Amazon, so use repricing software to find that sweet spot where you make a good profit margin and move items quickly. This is one of those areas where automation is really the easier, simpler and more efficient way to go.
Step 10: See What Kind of Selling Specials Work For You
There are tons of selling specials you can avail yourself of, like:
- Amazon lightning deals
- Email marketing campaigns
- Bundling
- Upselling and cross-selling
- Discount coupons/codes
- BOGOF sales
Step 11: Check-in Regularly on Information in Your Seller Central Area
There’s a treasure trove’s worth of information you can find in your Seller Central account, like inventory reports, current sales promotions and more. At the very least, you should be seeing what’s up once a week, but try to schedule more if you can.
Step 12: Constantly Analyse Your Metrics
There are so many metrics available to you to help you out (enough to build another post with!) but you should be keeping close tabs on the important ones. Furthermore, analyse the before and after pictures so you have an accurate idea of what does and doesn’t work. This will help you in making decisions in and for the future.
Conclusion
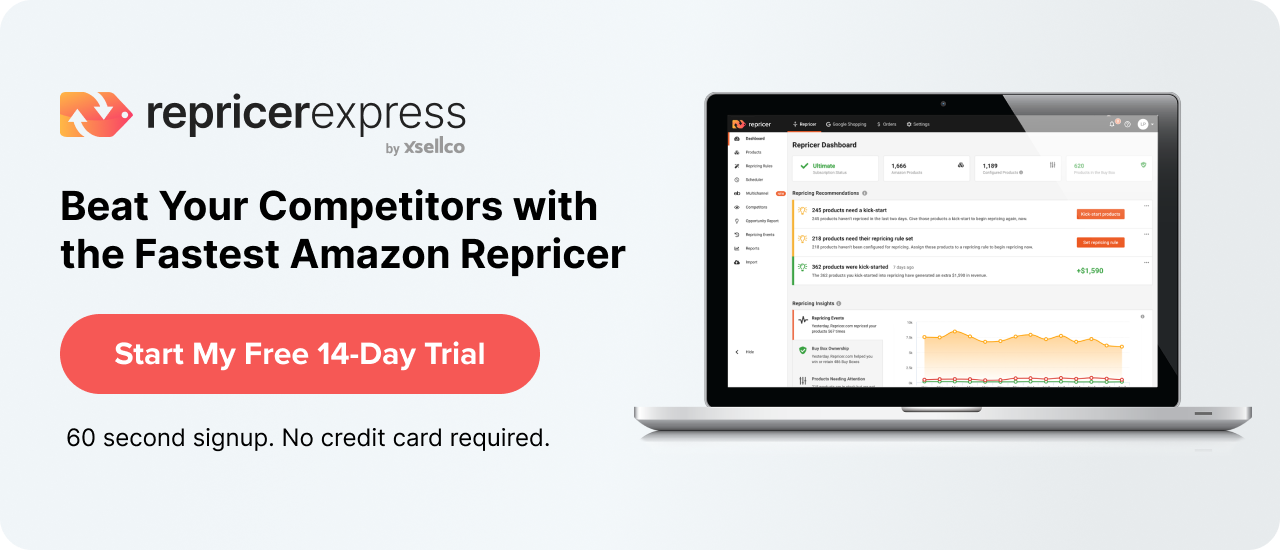
In Step 9, we briefly talked about repricing. But don’t let the brevity of the point detract from its importance. While you could theoretically handle it yourself, why would you? RepricerExpress automates everything so you can combine your instinct and research with our ease and simplicity. Plus, when you sign up now you get the first 14 days entirely free.
Related: Best Amazon Seller Tools for FBA in 2023