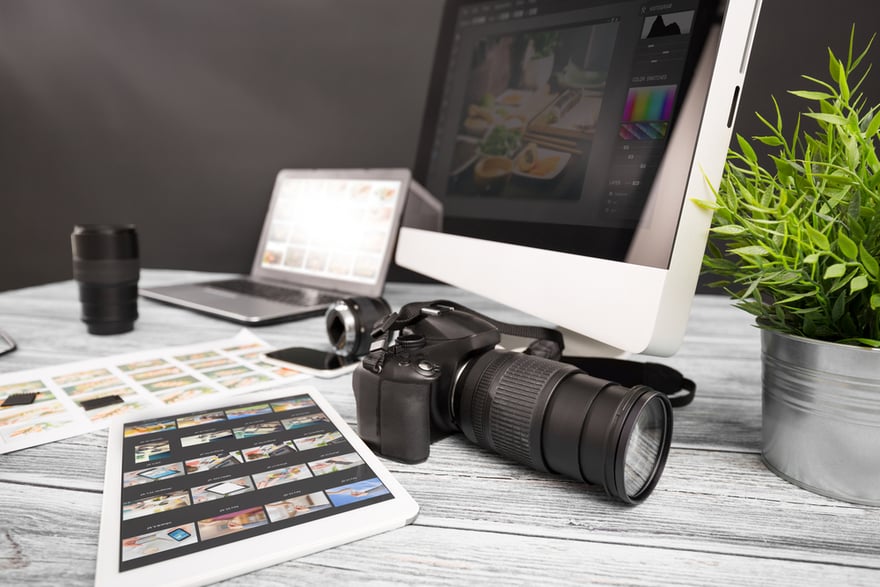
They say a picture’s worth a thousand words, but what do your product photos say? Do they tell the full story of what your item can? Or does it tell another story where there are missing details and shoddy quality?
Because there are so many ways to improve product photography we have compiled the top ten Amazon product photography tips to take your listing images to the next level. Let’s get started…
1. Pay Attention to Amazon’s Technical Requirements Before Shooting
It’s easier to plan a product photography shoot if you work within an outline of technical requirements instead of shooting whatever and editing later.
Amazon has set out the technical requirements for images, so make sure you have the following in place:
- Correct filename extension. All photos need to be saved as a TIFF, JPEG, GIF or PNG file, so adjust the setting on your camera before beginning.
- Always shoot in RAW to make it easier to scale down and avoid blurriness. Your photos should be a minimum of 1,000 pixels in either height or width.
- Colour mode. You have two options: sRGB or CMYK colour mode.
- Spaces, dashes or additional characters. Don’t use any of these when naming your images, as they won’t be uploaded.
- Naming convention. You need to have the product identifier (e.g. ASIN, UPC, EAN or JAN), followed by a period and the filename extension.
2. Make Use of the Maximum Allowed Photos
Amazon lets you upload up to eight images per ASIN, so make good use of that. The photos should show your product from a variety of angles and being used in various ways to give the shopper an accurate idea of what to do with it.
As well, if your products are wearable, include a sizing chart (with size conversions for different countries/regions) so consumers can pick the best-fitting option.
3. Follow All Specs with the Main Image
Amazon has specific criteria for the main product photo:
- The background must be white (RGB 255,255,255).
- It has to be an image and not a graphic or drawing.
- It needs to fill at least 85% of the canvas and the entire product needs to be in the frame.
- There can be no additional text, graphics or inset images, just the main image itself.
Related: How to Get Perfect Photos on a White Background
4. Include an Infographic if Possible
MIT neuroscientists found that the human brain can process images really fast, like on the scale of a fraction of a second (13-80 milliseconds). To take advantage of that, include an infographic with relevant details as one of your child images to go the extra distance in persuading your consumer to buy.
5. Show the Size of the Product
In the movie The Aviator, there’s one scene where DiCaprio’s Howard Hughes realizes that his shots of flying airplanes mean little to the viewer because they can’t see how fast they’re flying. So, he directs the pilots to fly past buildings and towers.
Do something similar with your pictures by setting them against bodies or recognizable objects to give shoppers a concrete sense of size and scale.
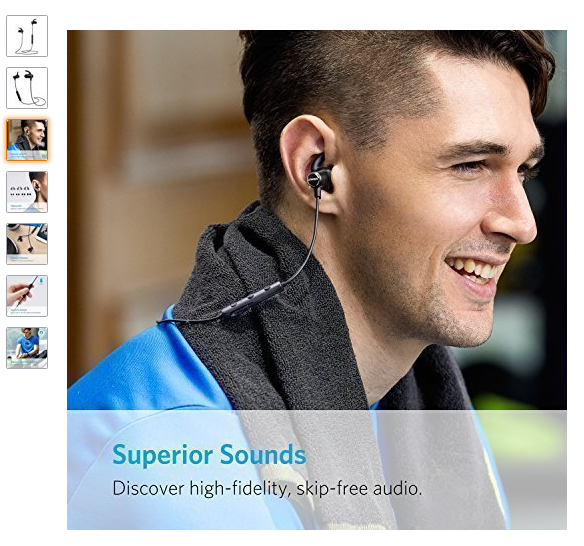
6. Include at Least One Lifestyle Image
At least one of your child photos should be a lifestyle one that shows the product being used in real life. Not only does it help buyers get a sense of how it’s being used, but the extra details and aesthetics can really help tip the scales towards a sale.
Look at IKEA for an excellent example. They show complete room setups to give people inspiration for how to decorate their own rooms. You’re not only selling a product, but also an idea.
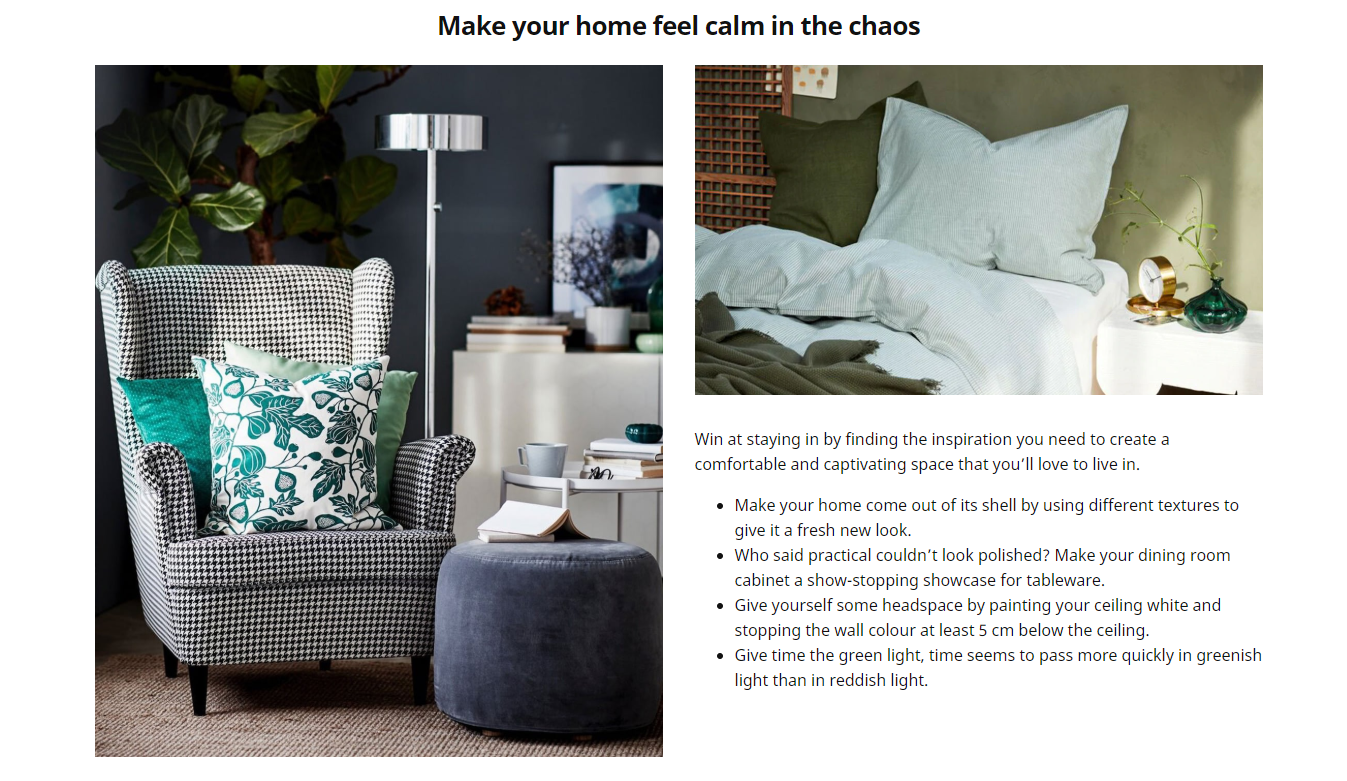
Image credit: IKEA
Related: Photography Tips for Beginners
7. Wait, an Image of the Product Packaging?
Yup, one of your child images should also include the packaging along with the product. Why? So that buyers can get a really accurate idea of what to expect when the product arrives. Showing what they can expect — and verifying the accuracy once it’s delivered — helps build trust that you’re an accurate and honest Amazon seller.
8. Use a Chart Comparing Features Across Similar Products
Whether you have variations on the same product (think clothing, bedding, or anything else with basic or upgraded features), use one of your child photographs as a chart to highlight the differences.
You can also include a chart with competitor photos to show why your product has more features or would make a better overall purchase.
9. Flesh Out Details with a Video
When videos accompany a product listing, viewers are 64-85% likelier to make a purchase. Videos help fill in the gaps left by product photos by showing the object in use, answering questions, showcasing features or benefits, and can be used in social media marketing when shot in a square aspect ratio.
10. Go Pro if Needed
If you don’t have the right camera and lighting equipment or don’t feel confident in taking the best photos possible, hire someone to do it for you. Amazon has a photography service where you can link up with local photographers and get your shots done by a pro.
Related: How to Take Amazing Product Photos with Your Smartphone
Final Thoughts
Because images are one of the first things a buyer looks at, it’s crucial to get this first impression nailed down. Once you do that, you can focus your attention on automating your prices with Amazon repricer software. Get started today for free, no credit card needed.

Related: 7 Ways to Optimise Your Amazon Product Listings (in 2020)